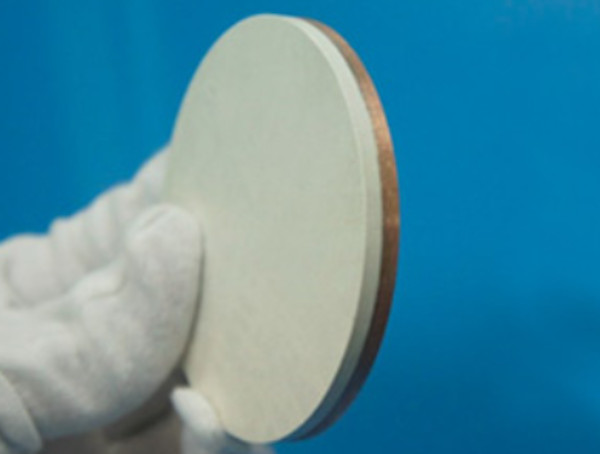
A comprehensive range of sputtering materials and sizes available
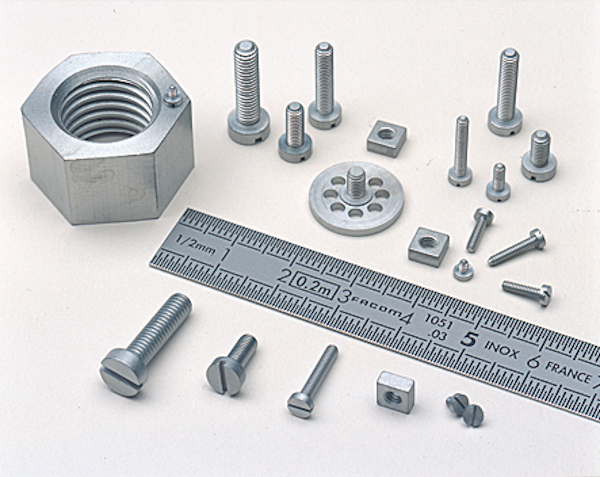
Micro machined components in strategic materials such as molybdenum, tantalum, titanium and niobium

Garnet crystals and substrates for epitaxy
J-GRAPHENE is ahigh quality, low defect graphene dispersion
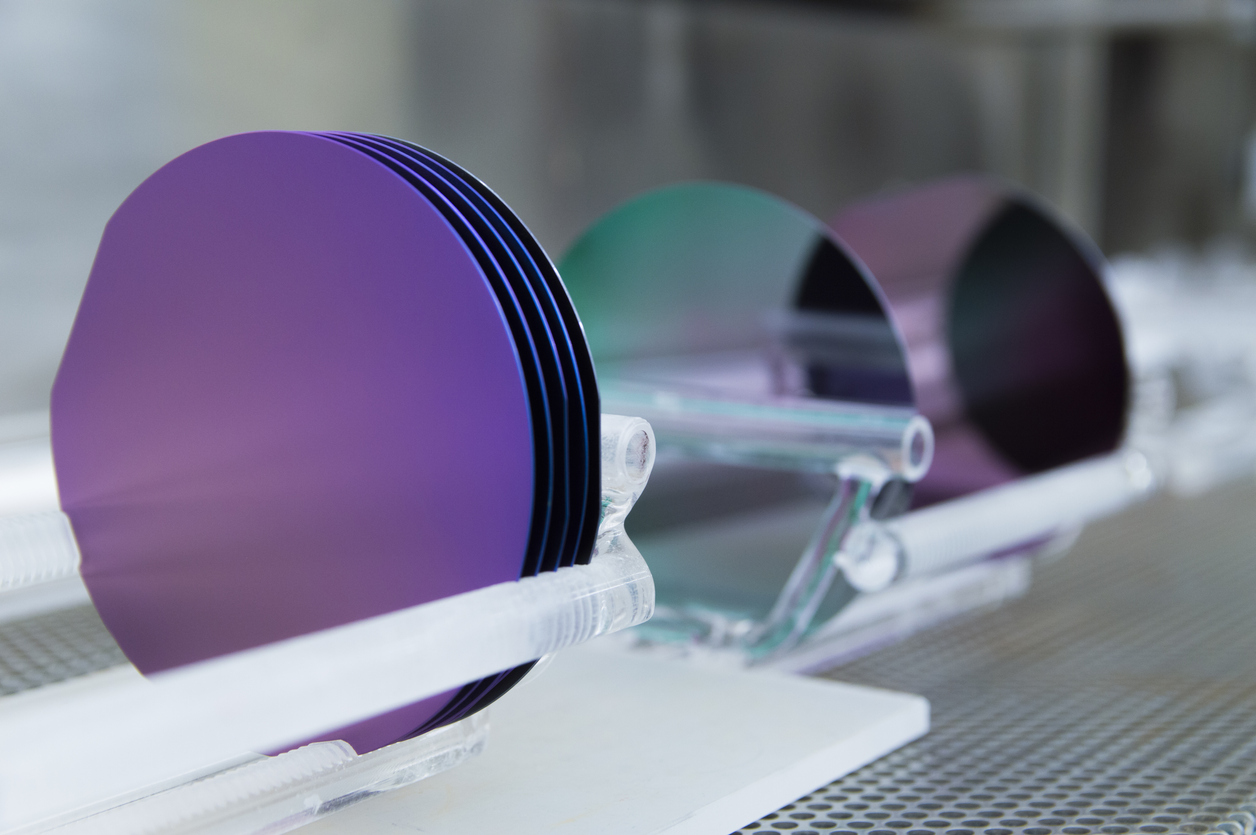
Czochralski (Cz) and float zone (Fz) for a large range of semiconductor applications
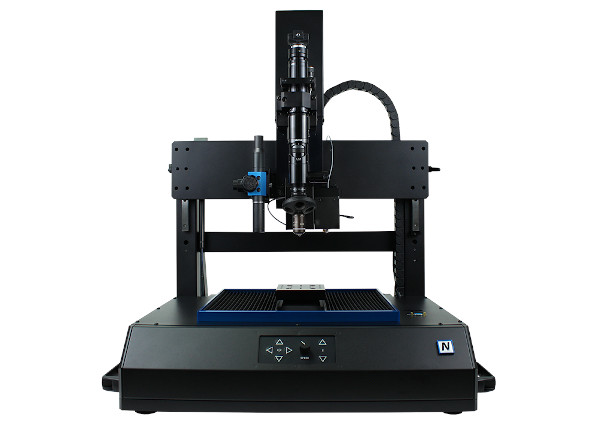
Scratch, indentation and wear testing all on one tool at nano and micro load ranges
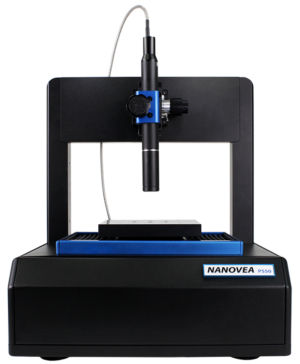
3D non-contact profilometers for collecting and analysing sample height data
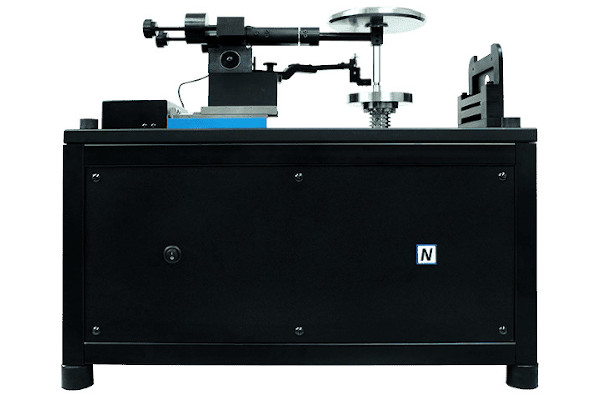
Robust, modular, and powerful pin on disc tribometers
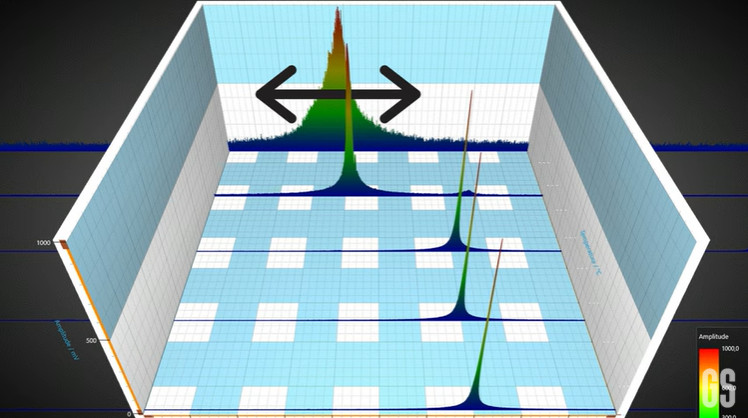
Non-destructive measurement of internal material properties
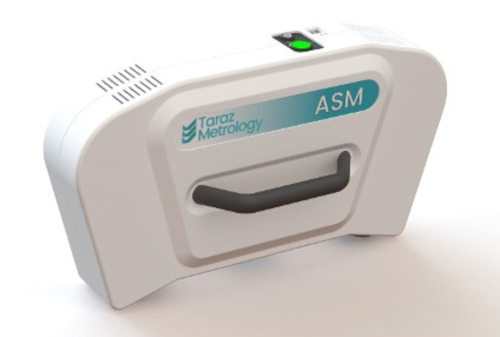
Advanced 3D optical measurement solutions for quality assurance in production

Non-contact technology measuring real time strength and direction of electrical currents
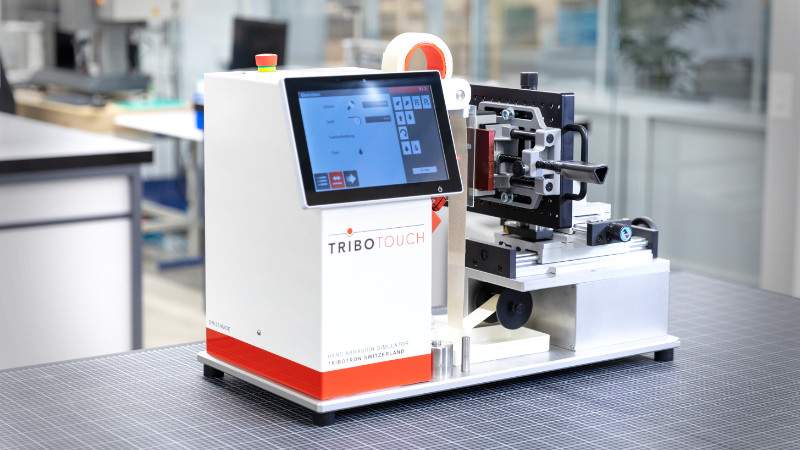
Reproducing the wear interaction between a surface and the human finger
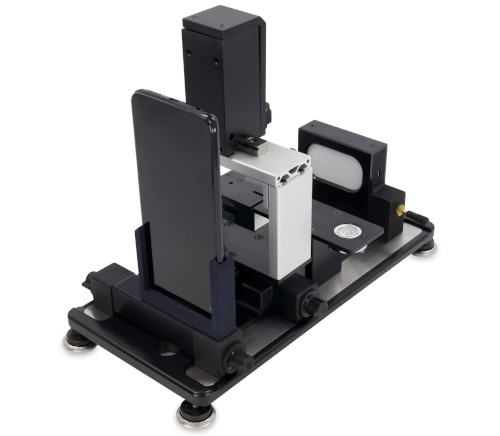
Measurement of surface tension between liquids and solids
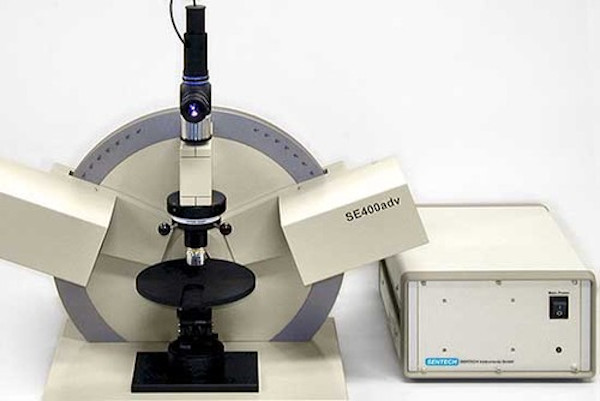
Determining thin film properties by change in polarisation of light
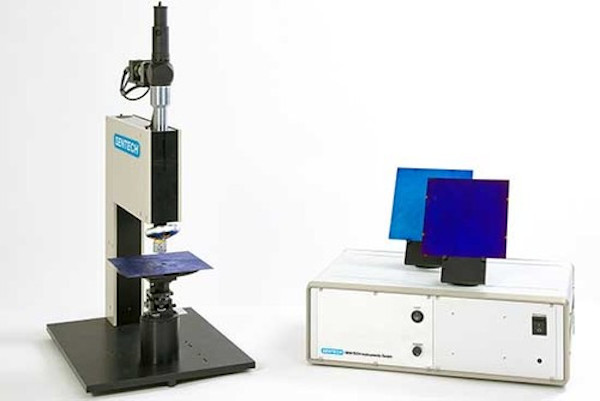
Measuring thin film properties by reflection
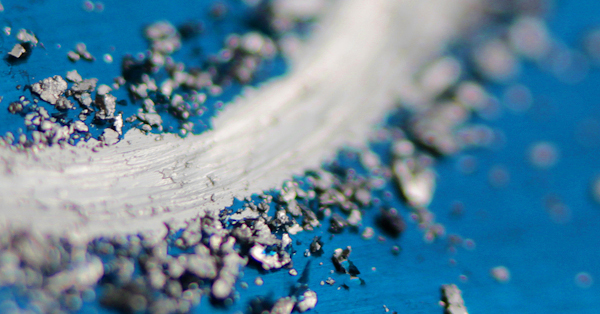
Tribology testing in ambient or tailored environments

Real life testing of finished products in respect of resistance to hand abrasion
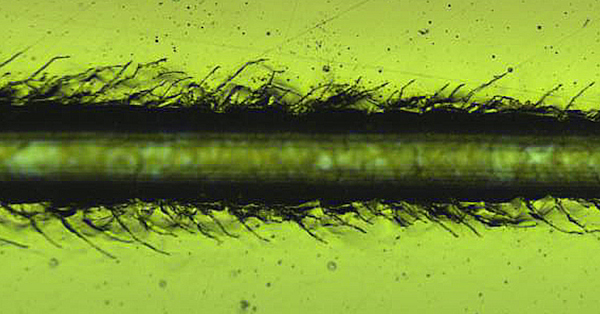
Scratch & indentation for hardness, elastic modulus, adhesion, cohesion plus more
Gain a deeper understanding of your materials
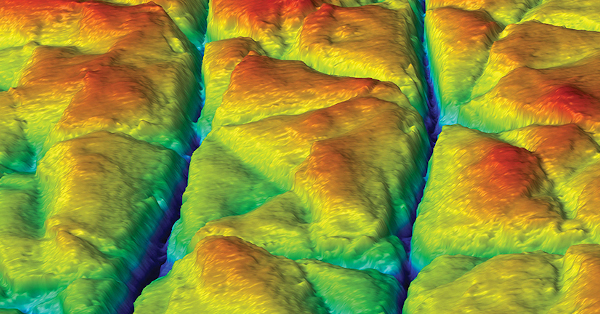
Measure surface roughness, form, profile, finish plus more
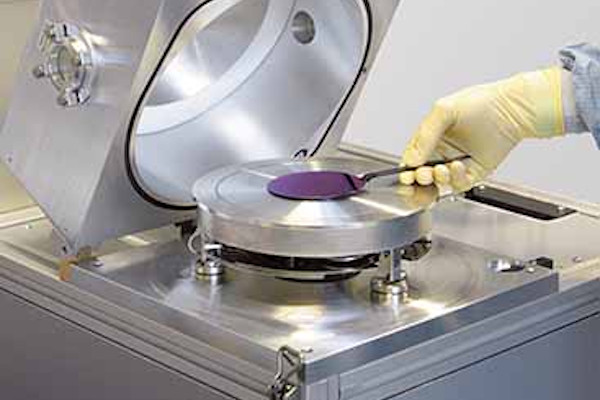
Low damage plasma enhanced chemical vapour deposition
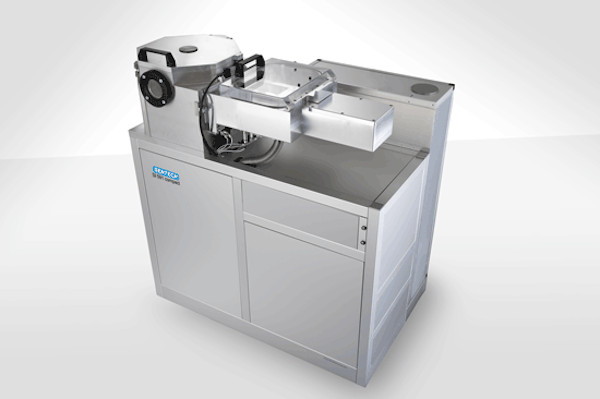
Low damage etching and nano structuring
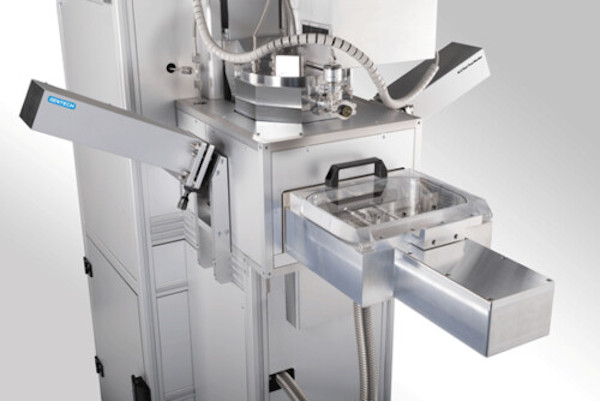
Deposition of layers in the nanometer scale
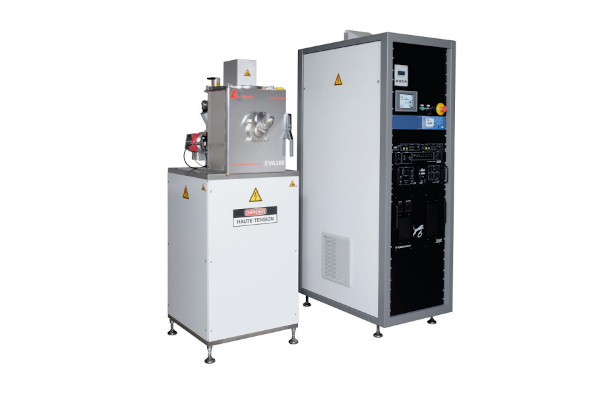
Deposition of coatings by the vacuum evaporation technique
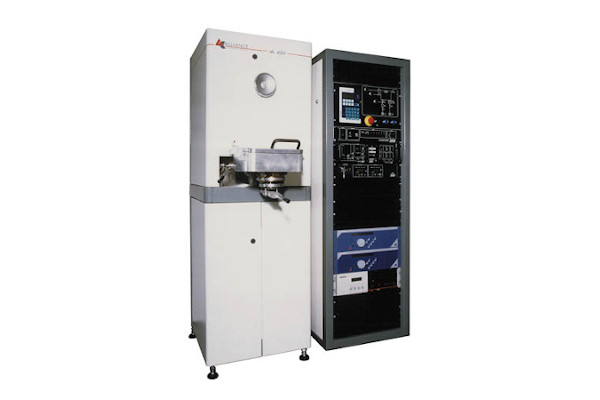
Deposition of coatings by the sputtering technique
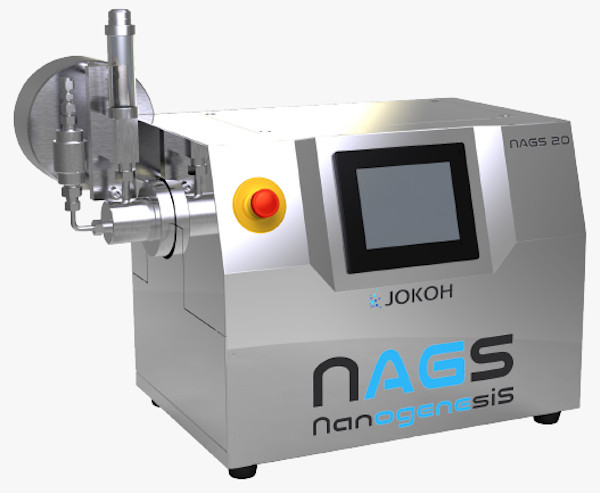
The dispersion, mixing, pulverization or emulsification of materials
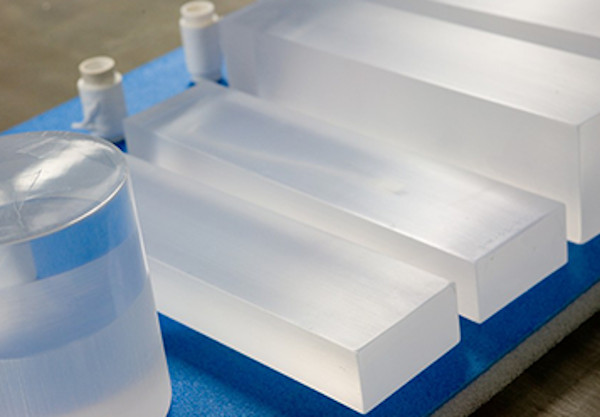
Scintillator materials grown in crystal form

Scintillator material in organic form
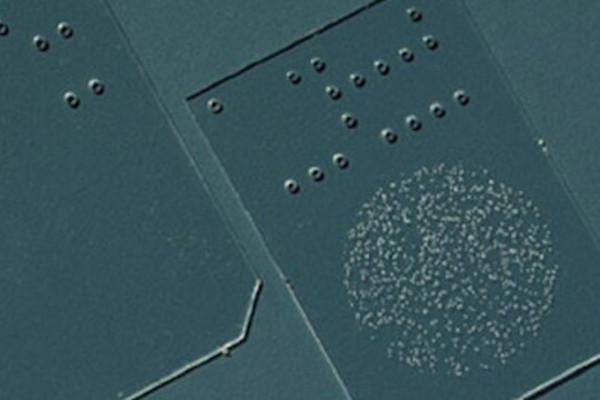
Materials for the measurement of radiation dose
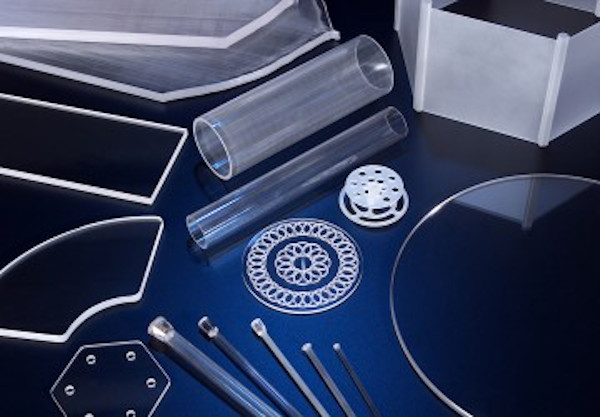
Sapphire in sheet, tube, rod and component form
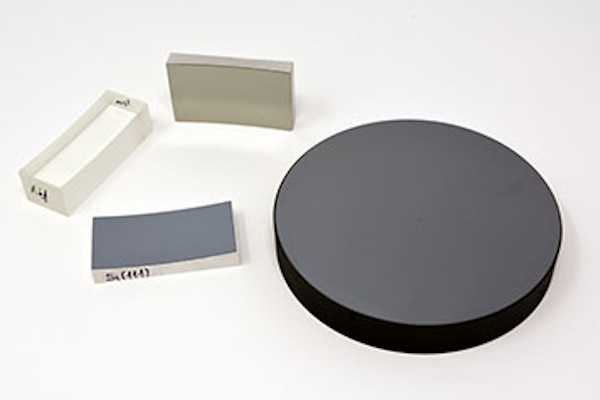
LiF, Quartz or SiO2, InSb, Si, Ge, PET, ADP, Beryl, TlAP, RbAP, KAP and CsAP
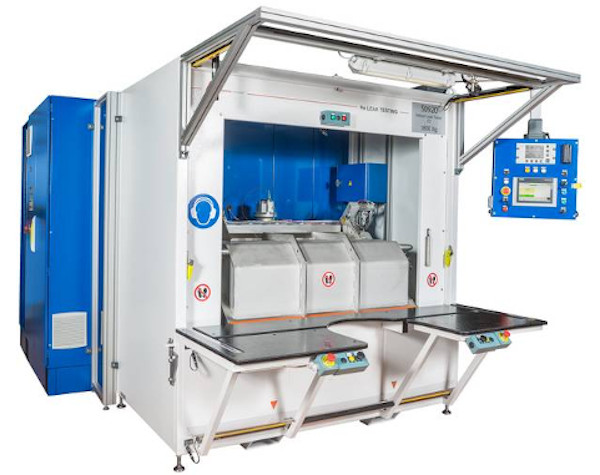
Bespoke leak testing systems for small or large parts
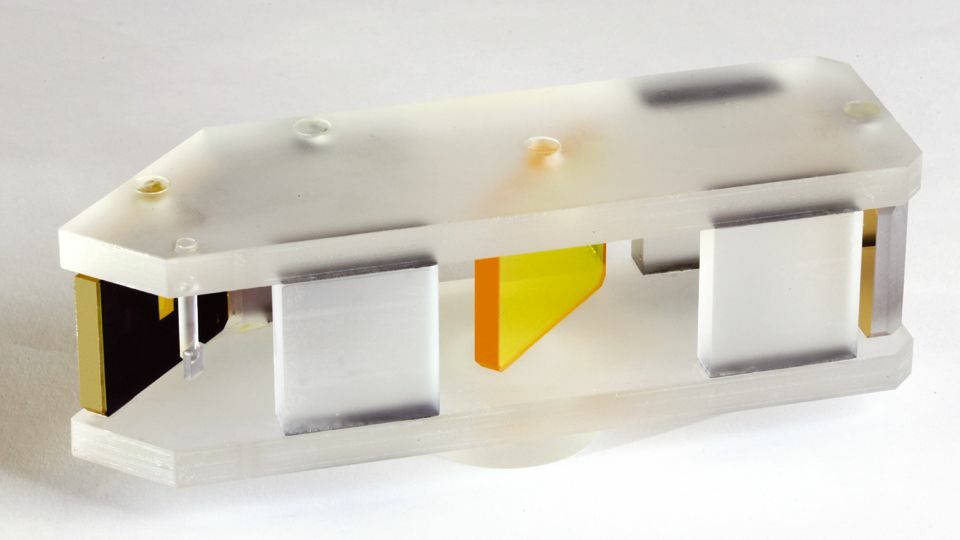
Superb optical stability and unsurpassed shock and vibration resistance
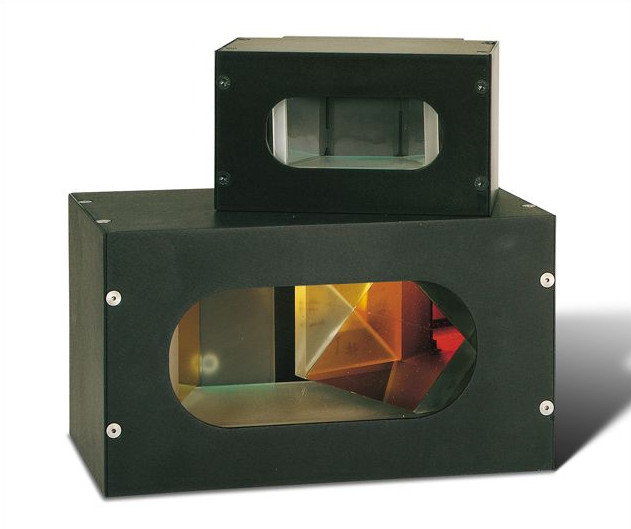
The performance of a penta prism with more control and wavelength transmission
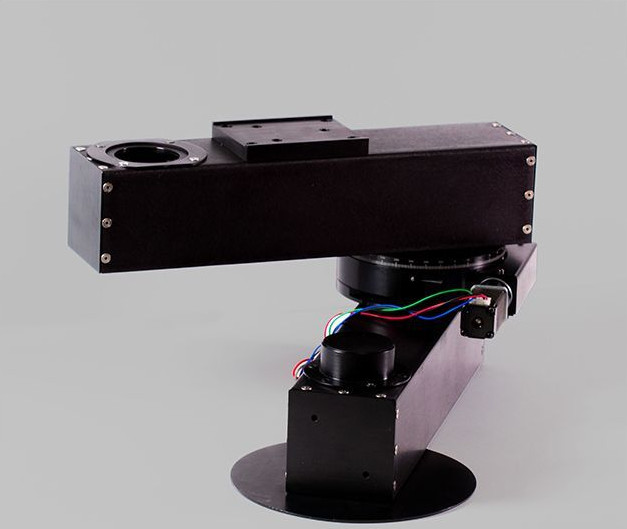
Beam alignment where three or more optical axes are required
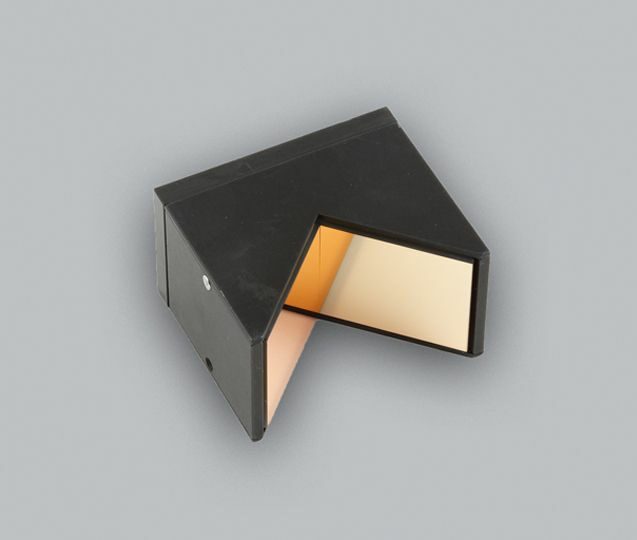
Two-mirror optical assembly arranged at a 90-degree angle
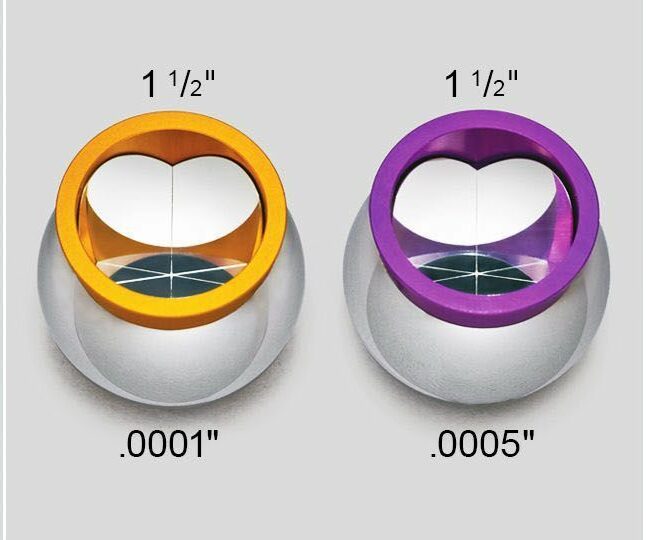
Ball mounted hollow retroreflectors
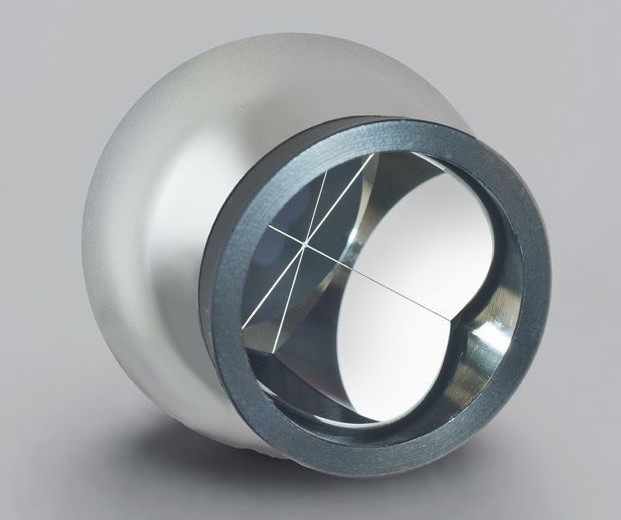
Reflects light back towards it’s source with minimal scattering

A comprehensive solution for laboratories using several types of microscope and profilometer

Benchmark technology for 2D and 3D surface texture analysis and metrology, seamlessly integrates with profilometers and other surface measuring equipment
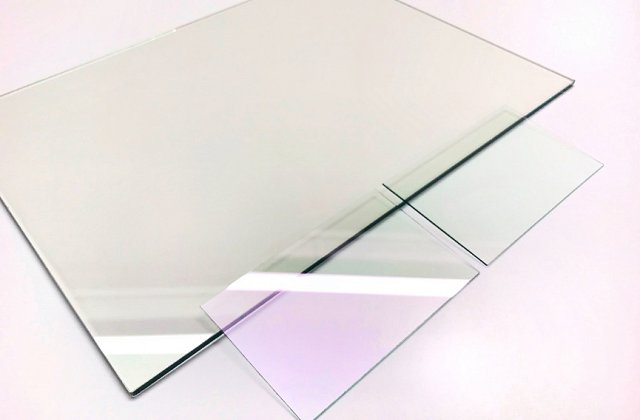
Conductive coating on one side to prevent EMI/RFI

Plastic optical filter with broadband AR coating on both sides

Privacy Glass & Light Control Film

You’ve probably already heard about tightness, for instance water-tightness or else seal tightness. Thousands of products manufactured for and by any industry have this common feature : tightness to a fluid, e.g. gas or water. An injection pump couldn’t serve its purpose if not tight to fuel, an oxygen tank wouldn’t be safe if not gas-proof. What about a leaking air-con hose?
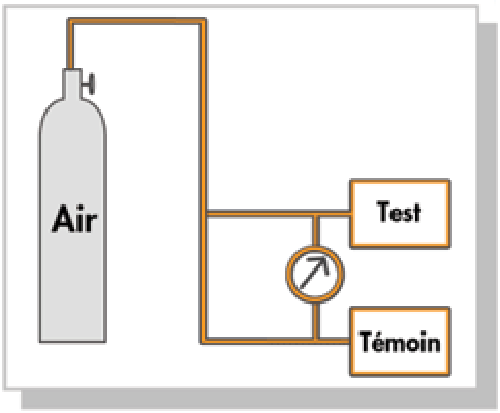
Now, what about “leak testing” or “tightness validation”? How is the “leak rate” quantified? Which products can be tested? What type of equipment do I need? These are most certainly some of the questions you are asking yourself if you’re here.
Alliance Concept leak testing is perfect for challenging industries such as Automotive, Energy, Refrigeration, Electronics, Aviation , Connectors, Medical and others.
Parts suitable for testing include injection pumps, injectors, fuel tanks, aircraft brake pistons, compressors, connectors, gas meters, electrical equipment such as switch gears, battery packs, ultracapacitors, HP valves.
Alliance Concept of France is an internationally renowned manufacturer of vacuum systems and equipment, certified ISO 9001-2015, thanks to its high level of expertise in the application of different vacuum techniques.

A reliable leak testing system consists of :
Global Leak Test
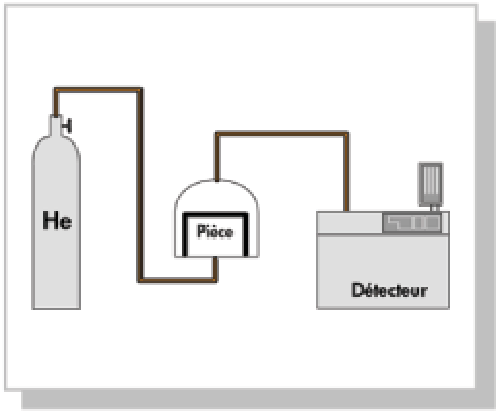
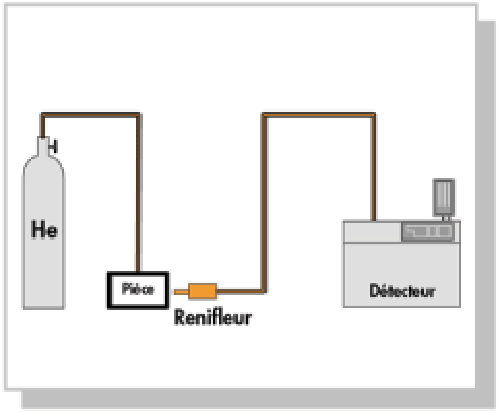
The global test is the method that provides the highest sensitivity up to 10-10 atm.cm3/s. The working principle is as follows :
We’re here and ready to provide information and answers to your questions
©Mi-Net 2023. All Rights Reserved.
Website by Fifteen.co.uk